Ever wondered how to truly stand out in Roblox with a unique avatar that screams 'you'? Custom Roblox heads are the ultimate way to express your creativity and personal style, transforming your in-game identity. For busy gamers juggling work, family, and a desire to unwind, learning how to make Roblox heads might seem daunting. However, this comprehensive guide cuts through the complexity, offering practical, step-by-step instructions designed for efficiency and impact. Dive into the world of Roblox head creation, discover the essential tools, understand the design process, and learn how to upload your masterpieces. Whether you're aiming to craft a one-of-a-kind look for yourself or explore the thriving creator marketplace, this resource is packed with navigational and informational insights to help you achieve your customization goals without wasting precious gaming time. Get ready to level up your avatar game and join the ranks of creators making Roblox uniquely their own. This trend of deep personalization is hotter than ever, reflecting how gamers today value unique self-expression and community engagement.
How do I start making custom Roblox heads?
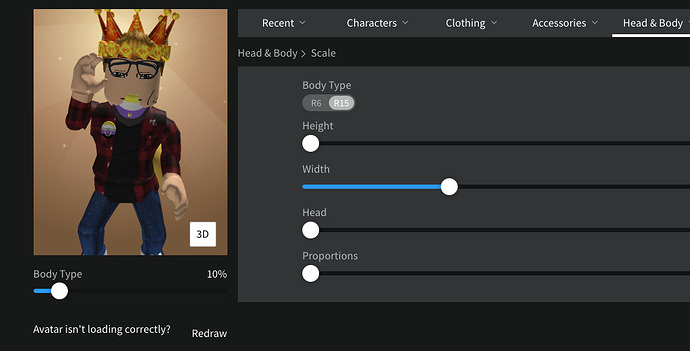
To start making custom Roblox heads, begin by learning a 3D modeling software like Blender, which is free and widely used. Focus on understanding basic modeling, UV mapping, and texturing. You'll then use Roblox Studio to import your 3D model, configure it, and prepare it for integration with a Roblox avatar, ensuring it fits the platform's specifications.
What software is essential for designing Roblox heads?
The essential software for designing Roblox heads includes a 3D modeling program such as Blender (free and robust) or Maya/3ds Max (paid professional tools), and Roblox Studio, which is freely available from Roblox. Additionally, a 2D image editing software like GIMP or Photoshop is crucial for creating custom textures.
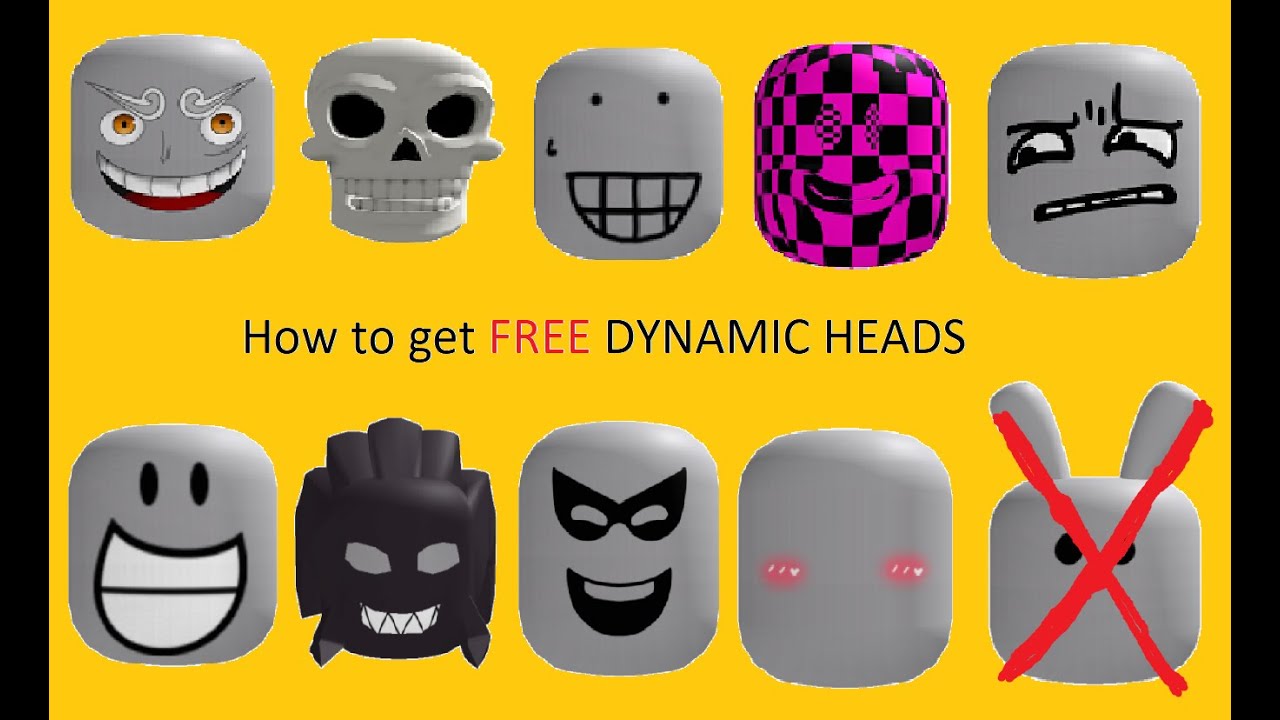
Can I create animated or 'dynamic' Roblox heads?
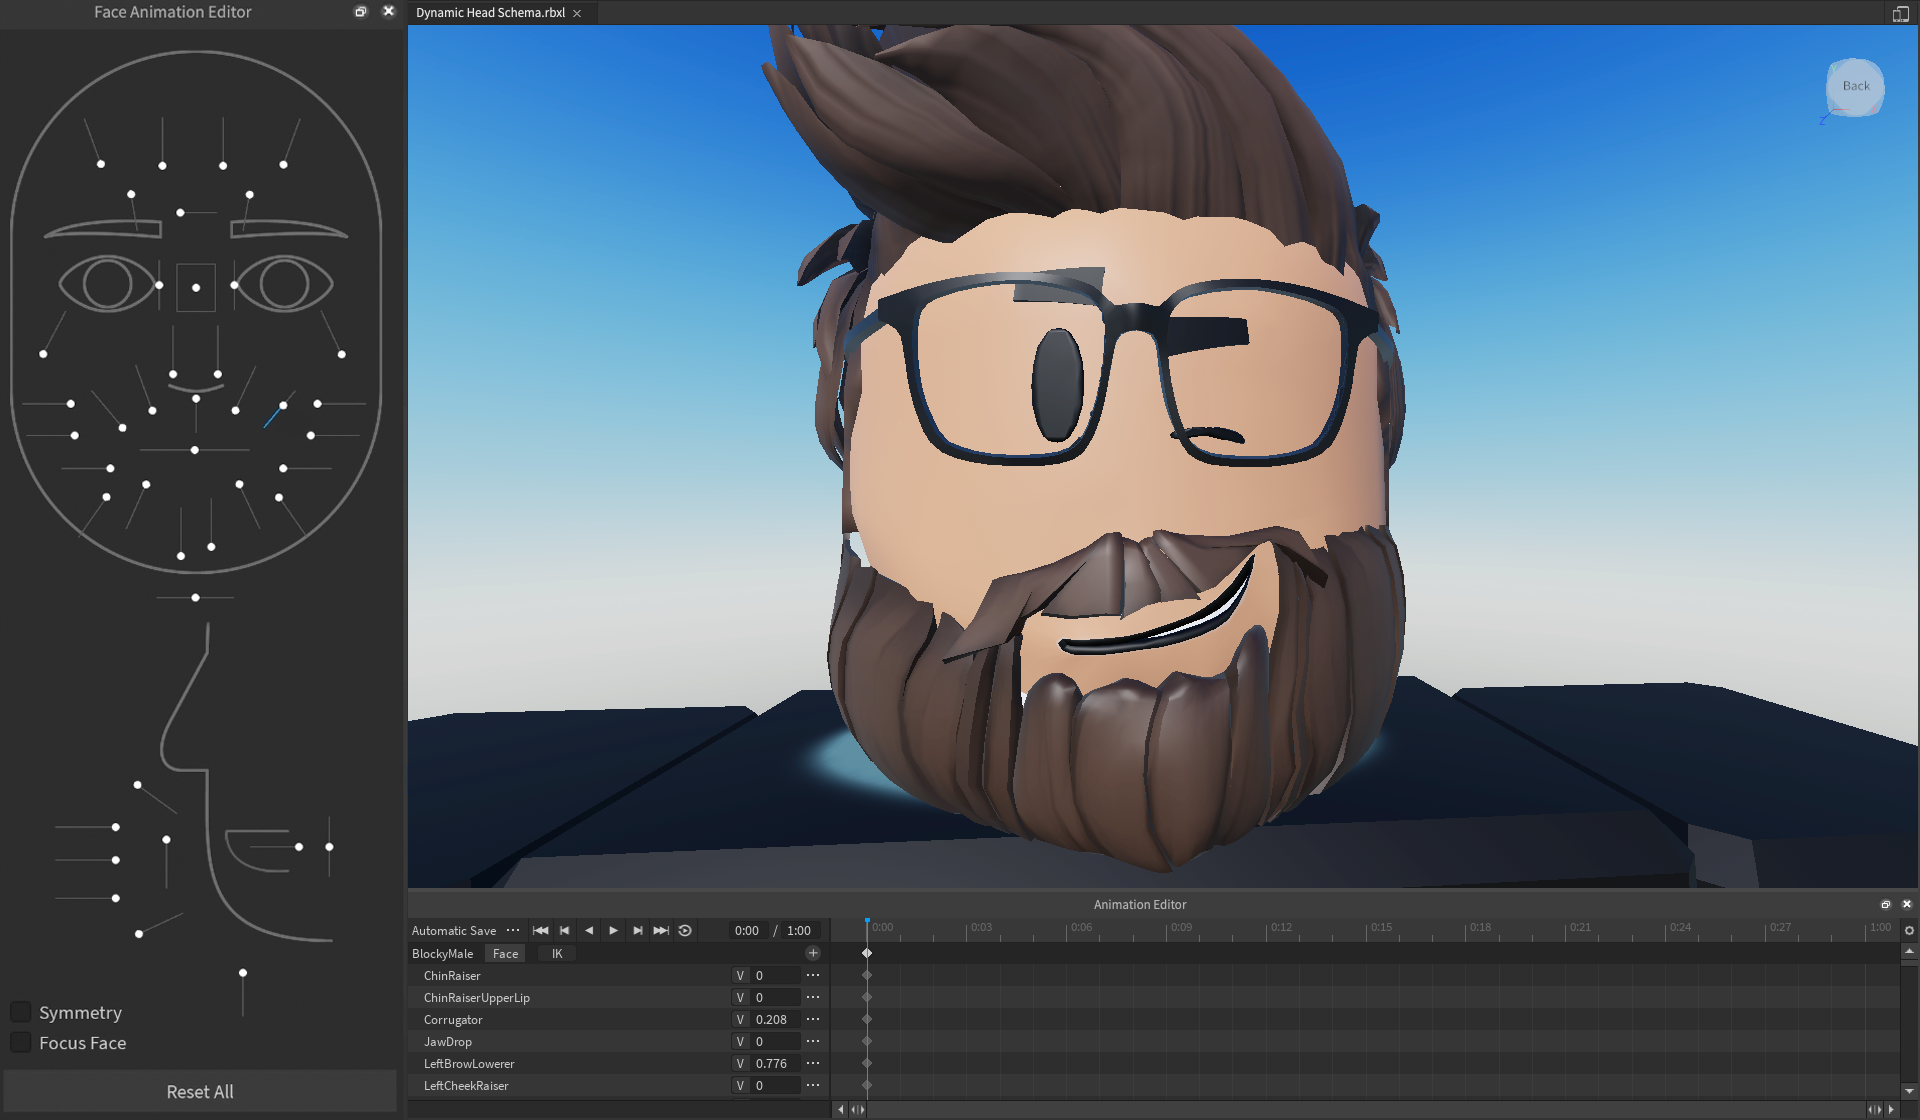
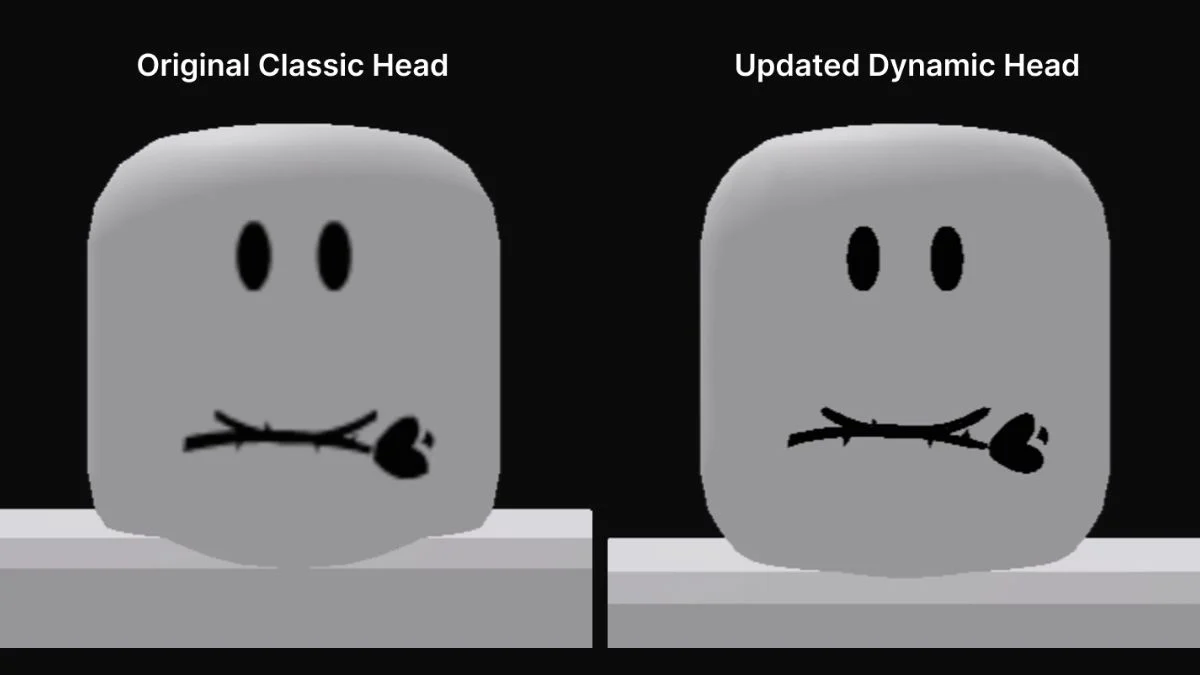
Yes, you can create animated or 'dynamic' Roblox heads. This involves advanced 3D modeling techniques like rigging with an armature and creating blend shapes for facial expressions. These heads interact with Roblox's 'FaceControls' to allow for real-time facial animations, making avatars more expressive and engaging in social contexts.
How do I get my custom Roblox head into the game?
To get your custom Roblox head into the game, you'll first export it from your 3D software as an FBX file. Then, in Roblox Studio, use the 'Asset Manager' to import the FBX. You'll need to properly attach and position the head model to an avatar's 'Head' part within the workspace, configuring its properties to function correctly in-game.
Is it possible to sell custom Roblox heads to other players?
Yes, it is possible to sell custom Roblox heads to other players through the Roblox User Generated Content (UGC) program. You must apply and be accepted into this program. Once approved, you can upload your creations via Roblox Studio, set a price, and make them available for purchase to the vast Roblox community.
What are the size and poly count limits for Roblox heads?
While Roblox doesn't enforce strict universal limits, creators are advised to optimize for performance. Aim for a low polygon count, typically under a few thousand triangles, and keep texture sizes reasonable (e.g., 256x256 or 512x512 pixels). This ensures your custom head loads quickly and performs well across various devices, including mobile.
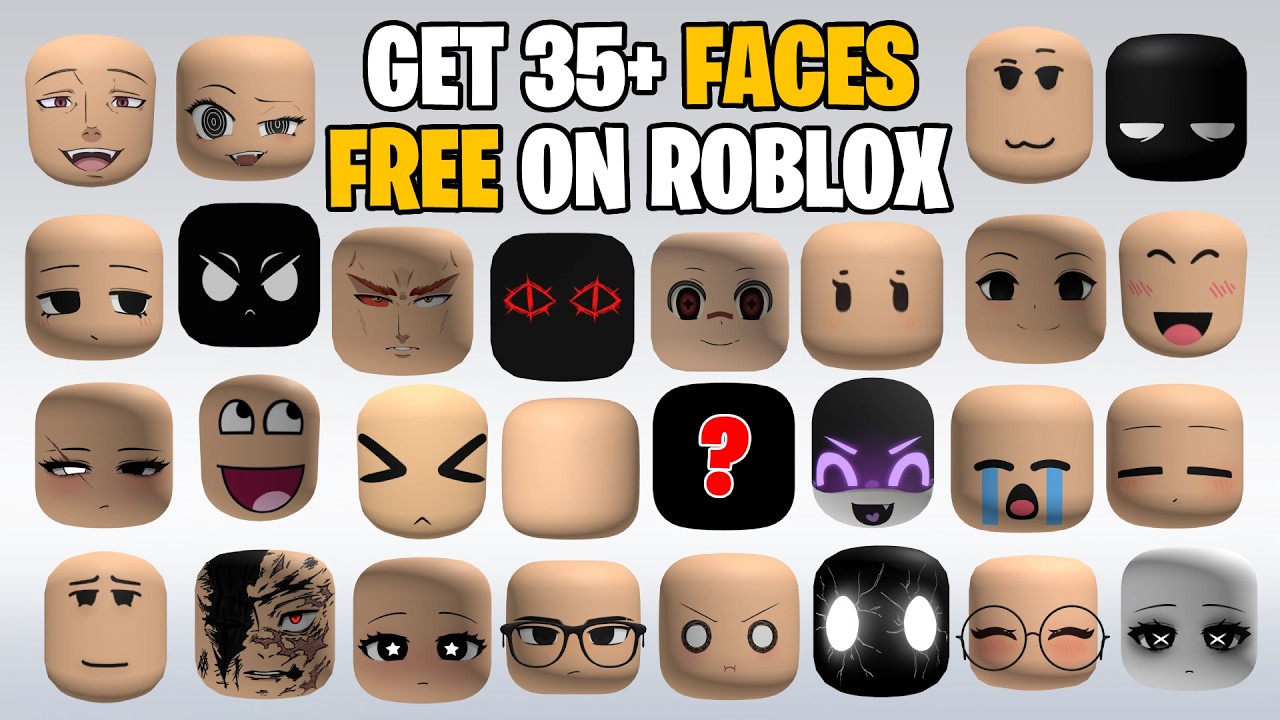
Where can I find tutorials for making Roblox heads?
You can find numerous tutorials for making Roblox heads on platforms like YouTube, which hosts countless video guides from creators. The official Roblox Developer Hub is another invaluable resource, offering comprehensive documentation and step-by-step articles. Community forums and Discord servers dedicated to Roblox development also provide excellent learning opportunities and support.
Hey fellow gamers! It's 2026, and if you're anything like the average US gamer – maybe around 36 years old, balancing a career, family, and that precious gaming time – you know the struggle. We love diving into virtual worlds to unwind, connect with friends, and show off a bit of our personality. Roblox, with its incredible open-ended creativity, has truly exploded, especially with its social features and a creator economy that's more vibrant than ever. In fact, roughly 87% of US gamers play regularly, often clocking 10+ hours a week, and social gaming trends are leading the charge. A huge part of that social experience? Your avatar. While pre-made options are cool, there's nothing quite like truly owning your look, and that often starts with a killer, custom head. So, if you've ever pondered, "how to make Roblox heads" without getting bogged down in complicated tech, you're in the right place. This guide is built for you: the gamer who values their time, wants practical solutions, and aims to stand out.
Customizing your Roblox avatar, especially with unique heads, isn't just about aesthetics; it's about self-expression and building your identity in a vast digital universe. It can be a fantastic creative outlet, a way to connect with the community, or even a path to earning some Robux if you dive into the User Generated Content (UGC) marketplace. We're going to break down the process of how to make Roblox heads, covering everything from the tools you'll need to the nitty-gritty of uploading, all in a straightforward, no-nonsense way. No hype, just helpful advice to get you creating awesome avatars and maybe even a side hustle. Let's get started and turn those creative ideas into reality!
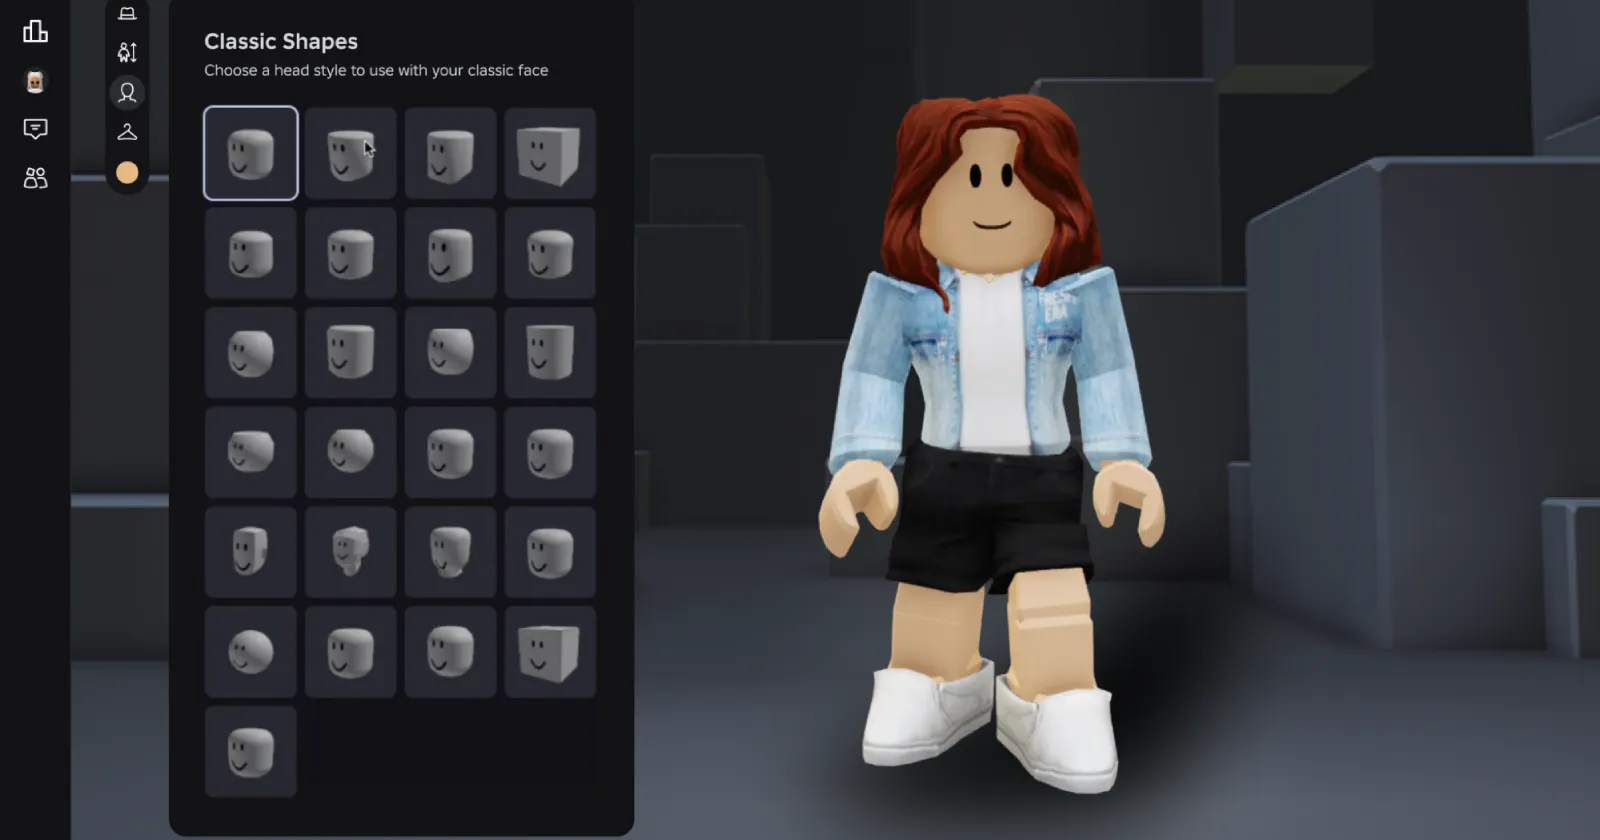
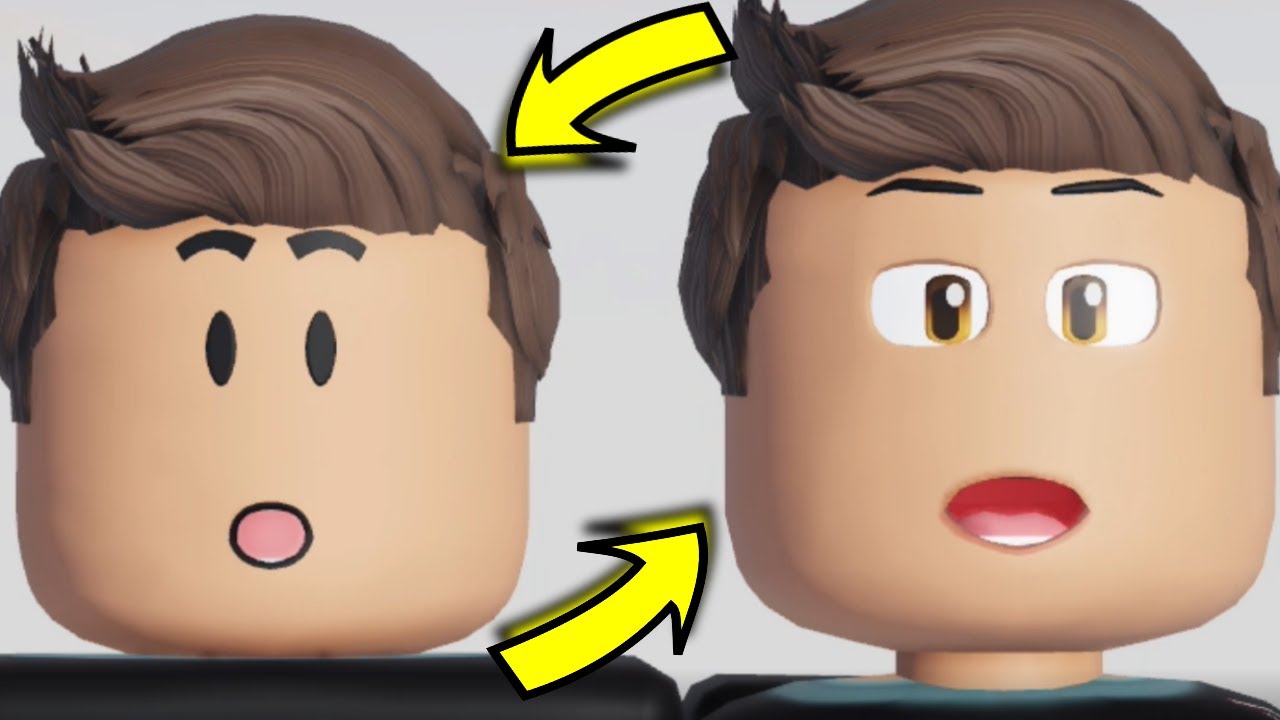
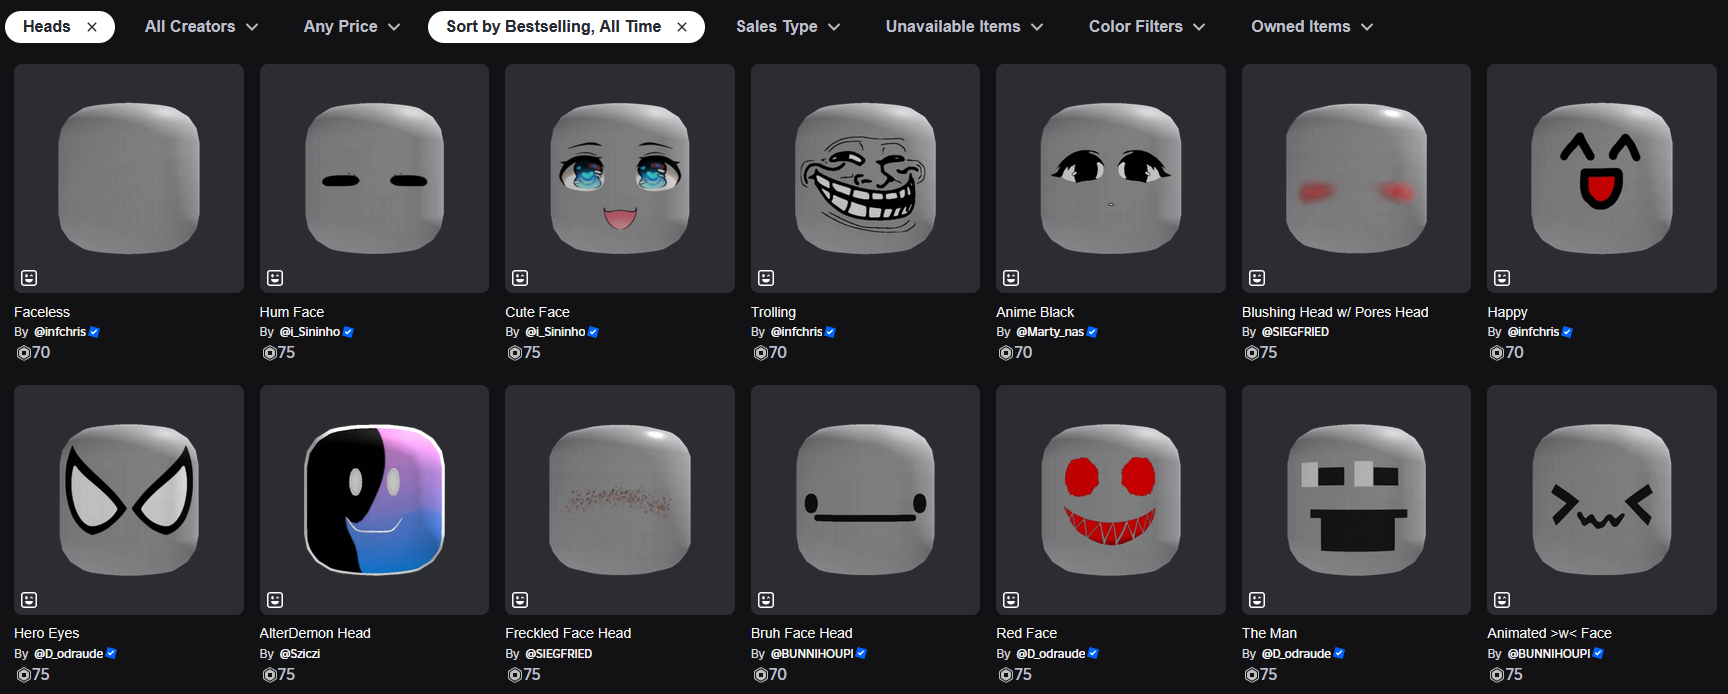
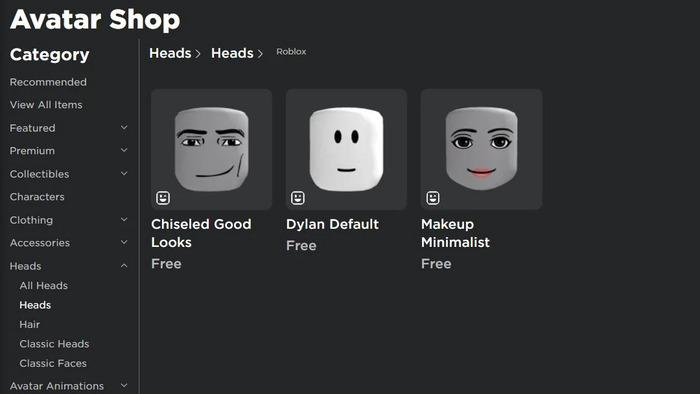
What Are Roblox Heads and Why Make Your Own?
Roblox heads are the primary facial component of any avatar, defining its overall look and expression. While Roblox offers a wide array of default and purchasable heads, creating your own allows for unparalleled personalization. Why bother when time is precious? Firstly, it's about unique self-expression; in a game where millions play, standing out with a truly original design is empowering. Secondly, it's a creative skill-building exercise that can be incredibly rewarding. Finally, for those looking to engage with the creator economy, custom heads are a highly sought-after item in the User Generated Content (UGC) marketplace, offering a path to monetize your artistic talents. This month, we've seen a surge in players looking for unique, often quirky, avatar items, reflecting a broader gaming trend towards individual identity in virtual spaces.
What Tools Do I Need to Create Custom Roblox Heads?
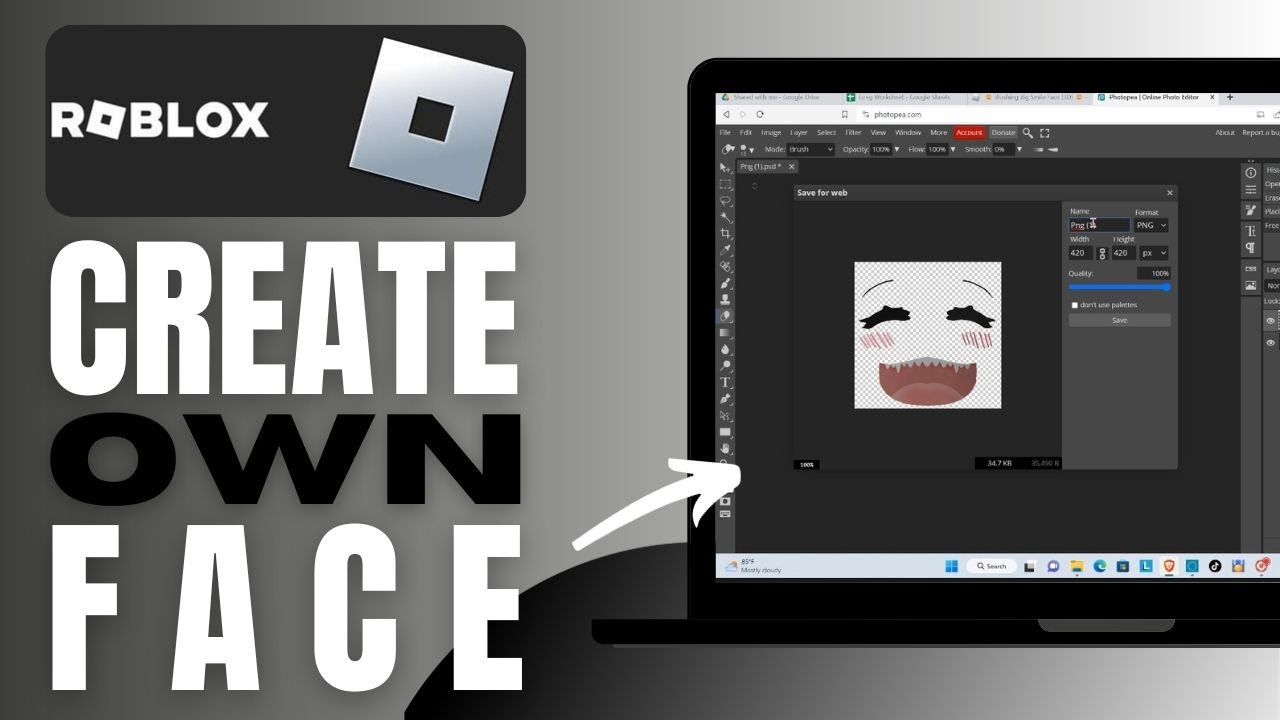
You don't need a full-blown professional studio, but a few key tools are essential for making custom Roblox heads. The core software typically includes a 3D modeling program and Roblox Studio. For 3D modeling, popular free options like Blender are excellent. Blender provides robust features for sculpting, texturing, and rigging, making it a favorite among experienced and new creators alike. Paid alternatives like Maya or 3ds Max are also viable if you already have access. Beyond that, you'll need Roblox Studio, which is free and directly integrated into the Roblox platform. This is where you'll import your 3D model, apply textures, rig it to the avatar, and prepare it for upload. Basic image editing software like GIMP or Photoshop can also be useful for creating custom textures.
How Do I Design a Roblox Head in a 3D Modeling Software Like Blender?
Designing a Roblox head in Blender involves several key steps. First, you'll start with a basic primitive shape, often a cube or sphere, and model it into your desired head shape using sculpting and extrusion tools. Focus on simple, clean geometry that fits within Roblox's performance guidelines. Next, you'll unwrap the UVs of your model, which prepares it for texturing. This step is crucial for ensuring your textures display correctly. Then, you'll create textures – color maps, normal maps for surface detail, and possibly roughness maps – to give your head its unique look. Finally, you'll rig the head, which involves adding a skeleton and assigning weight paints to allow for facial animations if you're creating a dynamic head. Remember, simplicity often works best for Roblox to ensure it loads quickly and performs well across various devices, including mobile, which dominates a significant portion of gaming time for many.
- Modeling: Start with a base mesh and sculpt your desired head shape. Keep the polygon count relatively low for performance.
- UV Unwrapping: Create a clean UV map to apply textures accurately.
- Texturing: Design detailed textures (color, normal, metallic, roughness maps) using image editing software.
- Rigging (for Dynamic Heads): Create an armature and parent it to your mesh, then paint weights to define how parts of the head move.
- Exporting: Export your model as an FBX file, ensuring all necessary components (mesh, armature, textures) are included.
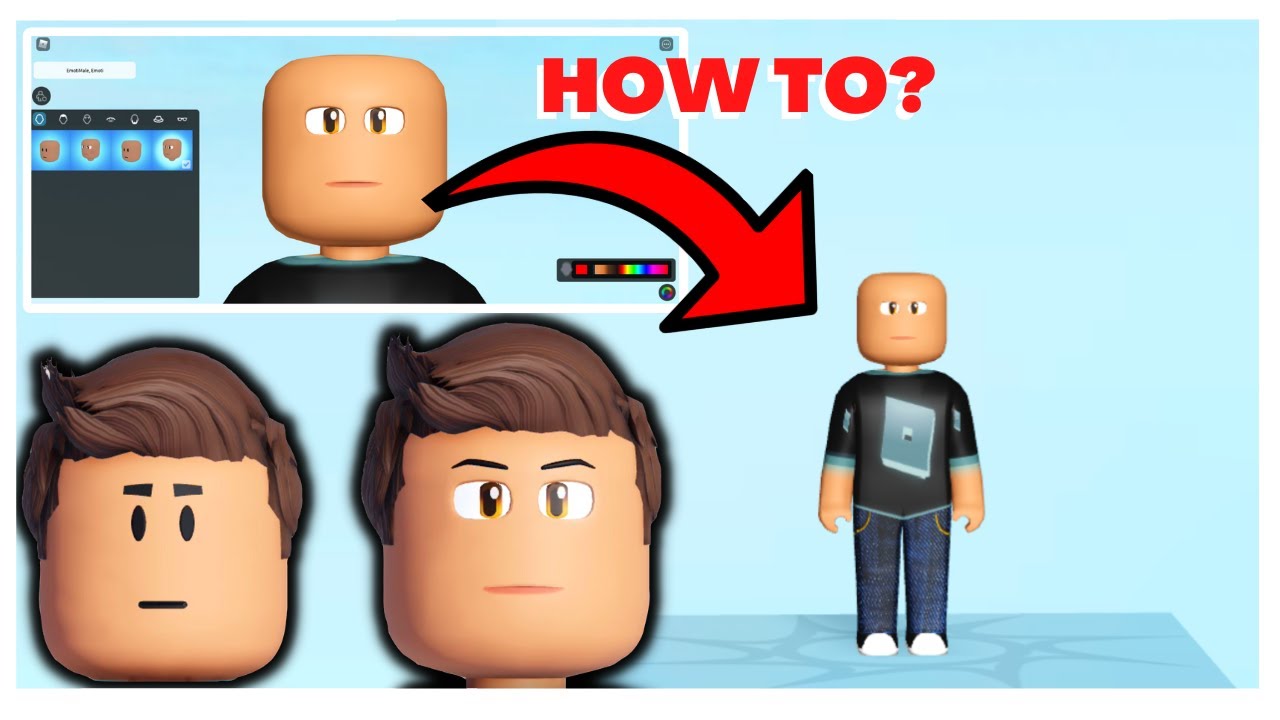
What Are the Steps to Import and Configure a Custom Head in Roblox Studio?
Once your custom head is ready in your 3D software, bringing it into Roblox Studio is the next critical phase. This process connects your creation to the Roblox platform. You'll start by opening Roblox Studio and creating a new experience or opening an existing one. Use the 'Avatar' tab's 'Rig Builder' tool to create a standard R15 or Rthro rig, which provides a base for your head. Then, you'll import your FBX model using the 'Asset Manager' and insert it into the workspace. The next crucial step is to correctly parent your head model to the 'Head' part of the avatar rig and ensure its position and orientation are accurate. For dynamic heads, you'll also need to configure the 'FaceControls' and 'WrapTarget' properties to allow for facial animations. This can be a bit tricky, but Roblox's documentation and community forums are great resources for troubleshooting.
Can I Make Custom Heads for Free, or Do I Need Robux?
Yes, you can absolutely make custom Roblox heads for free! The software required, like Blender and Roblox Studio, are both free to download and use. This makes it a fantastic hobby for anyone on a budget who wants to explore 3D modeling and game development. The only potential cost comes if you decide to upload your head to the Roblox marketplace for other players to purchase. Becoming a UGC creator and uploading items typically requires a Roblox Premium subscription and a fee in Robux per item, which covers moderation and platform costs. However, if you're just making heads for your own personal use or for a private game you're developing, there's no monetary cost involved. It's a prime example of how Roblox fosters creativity and offers value for money for its community.
How Do I Upload and Sell My Custom Roblox Heads on the Marketplace?
Selling your custom Roblox heads on the marketplace, or the User Generated Content (UGC) program, can be a great way to earn some Robux. First, you need to be accepted into the UGC program, which is an application-based process focusing on creator skill and adherence to Roblox's standards. Once accepted, you'll use the 'Asset Manager' in Roblox Studio to upload your completed head model and its associated textures. You'll then configure its properties, set a price in Robux, and write a compelling description. Roblox's moderation team will review your submission to ensure it complies with their community guidelines and technical requirements. Once approved, your head will be available for purchase by millions of players. Remember, successful UGC items often tap into current trends and offer unique value, making your head stand out in a crowded market.
What Are Common Mistakes to Avoid When Making Roblox Heads?
Avoiding common pitfalls can save you a lot of time and frustration when learning how to make Roblox heads. One frequent mistake is overly complex geometry, leading to high polygon counts that can cause lag for players, especially on mobile devices. Keep it optimized! Another is poor UV mapping, which results in distorted or blurry textures. Always double-check your UVs before texturing. Incorrect rigging can lead to animation glitches or the head not moving correctly with the avatar. Pay close attention to weight painting. Lastly, neglecting Roblox's terms of service and content guidelines is a big no-no; ensure your designs are appropriate and original. Gamers want seamless experiences, so optimizing for performance and clarity is key to a successful creation.
How Can I Make My Roblox Head Stand Out in the Crowd?
To make your Roblox head truly shine, focus on originality, quality, and understanding your target audience. Instead of simply replicating existing styles, try to develop a unique artistic vision. High-quality textures, clean modeling, and thoughtful details can elevate your creation. Consider what's currently trending in Roblox – perhaps specific aesthetics from popular social games, or themes related to recent events. Observing what kind of heads attract attention in game and on community forums can provide valuable insights. Engaging with the Roblox creator community for feedback during your design process can also offer fresh perspectives. Remember, the goal isn't just to make a head, but to make a memorable statement that resonates with players seeking something special.
What Are the Performance Considerations for Custom Roblox Heads?
Performance is paramount in Roblox, especially with the platform's huge mobile user base. A poorly optimized custom head can cause lag or even crashes for players, leading to a negative experience. Always aim for a low polygon count; Roblox generally recommends keeping individual asset poly counts under a few thousand, if possible, for optimal performance. Use efficient texturing, combining multiple textures into a single atlas when appropriate to reduce draw calls. Test your head thoroughly on various devices, including older phones, to ensure it loads quickly and doesn't cause frame rate drops. A head that looks great but performs poorly will ultimately not be successful. Gamers appreciate smooth, responsive gameplay above all else, and your creations should reflect that.
Are There Any Legal or Copyright Considerations for Custom Roblox Heads?
Absolutely, legal and copyright considerations are vital, especially if you plan to share or sell your custom Roblox heads. Always ensure your designs are entirely original and do not infringe on existing intellectual property (IP). This means no recreating copyrighted characters, logos, or designs from other games, movies, or brands. Roblox has strict policies against copyright infringement, and violations can lead to your asset being removed, your account suspended, or even legal action. If you use free assets (like public domain textures), double-check their licenses. When you upload content to Roblox, you are typically granting them a license to use and distribute your content on their platform, so read the Creator Terms carefully. Staying informed and compliant protects both you and the Roblox community.
Conclusion
Creating custom Roblox heads is a fantastic way to unleash your creativity, personalize your gaming experience, and potentially engage with a massive creator economy. We've covered the essential tools, the step-by-step design process, how to navigate Roblox Studio, and crucial considerations like performance and copyright. Remember, the journey of creation is about learning and experimentation. Don't be afraid to start simple and gradually build your skills. For the busy gamer, it's about making the most of your creative time and seeing tangible results. Now that you're equipped with this knowledge, go forth and craft some incredible heads that truly represent you or spark joy for others in the Roblox universe. What's your biggest gaming challenge when it comes to customization? Comment below!
FAQ Section
What is the best software for Roblox head modeling? The best software for Roblox head modeling is generally Blender, due to its powerful features, extensive community support, and most importantly, it's completely free. It handles everything from sculpting to rigging efficiently.
How long does it typically take to make a custom Roblox head? The time it takes to make a custom Roblox head varies widely. A simple, low-poly head might take a few hours for an experienced creator, while a complex, highly detailed dynamic head with intricate textures and animations could take several days or even weeks.
Can I use AI to help design Roblox heads? Yes, AI tools are increasingly being used in creative workflows. AI can assist with generating concept art, creating base meshes, or even producing unique textures for your Roblox heads, significantly speeding up parts of the design process. However, human refinement is still essential for quality.
What is a 'dynamic head' in Roblox? A 'dynamic head' in Roblox refers to an avatar head that supports advanced facial animations and expressions, often reacting to player input or voice. These heads utilize facial rigging and blend shapes for more lifelike and expressive avatars, greatly enhancing social interaction.
How do I ensure my custom head is compatible with Roblox R15 avatars? To ensure compatibility, model your custom head to a similar scale and structure as existing R15 heads. When importing into Roblox Studio, attach it correctly to the 'Head' part of a standard R15 rig, ensuring proper positioning and orientation, and that the mesh is one continuous object.
Are there free resources for learning Roblox head creation? Absolutely! YouTube tutorials, the official Roblox Developer Hub documentation, and community forums (like the Roblox Developer Forum) are excellent free resources. Many experienced creators share their knowledge and provide step-by-step guides for beginners looking to make Roblox heads.
,Learn to design and upload custom Roblox heads; Master essential 3D modeling tools; Understand the Roblox Studio workflow for head creation; Discover how to sell your custom heads on the marketplace; Get tips to avoid common design pitfalls; Optimize your creations for player engagement and uniqueness.
35


Easily Make Classic Looking Dynamic Heads Faces ROBLOX UGC GUIDE . What Are All Roblox Heads And How Do You Get Them Roblox Character Creation. How To Make Dynamic Heads In Roblox Como Hacer Cabezas Dinamicas En . We Re Updating Heads Page 92 Developer Forum Roblox . How To Make Your Own Face In Roblox Complete Guide YouTube


Animuj G Owy Centrum Tw Rc W Roblox Overview . How To Unlock Roblox New Feature Dynamic Heads Avatar S YouTube . Dynamic Heads In Roblox Facial Animations YouTube . How To Make Mesh Heads On Roblox Updated YouTube . How To Get FREE DYNAMIC HEADS On Roblox YouTube


35 FREE FACES On Roblox COMPILATION 2026 MineNest Mine Nest 1767595687 . How To ANIMATE DYNAMIC HEADS On ROBLOX YouTube . How To Create Custom Heads In Roblox Tutorial TikTok Img. How Does One Make A STATIC Dynamic Head With No Visible Parts Inside W . How To Get Latest FREE DYNAMIC HEADS On Roblox YouTube


Roblox Dynamic Heads Update Draws Player Backlash Over Lo . How To Get FREE DYNAMIC HEADS On Roblox YouTube . Grab Your Roblox Avatar Headshot URL ROBLOX CUSTOMIZE AVATAR HEAD . How To Make Roblox Head With Cardboard Part 1 DIY Tutorial YouTube . We Re Updating Heads Page 92 Developer Forum Roblox


Roblox Default Head Id At Isabelle Bloch Blog . How To Make Your Own Face In Roblox Complete Guide 2024 YouTube . Updating Marketplace Policy For Heads Page 29 . Roblox Head Id At Cynthia Brandenburg Blog . Drawing Roblox Heads A Fun Amp Easy Guide Default Roblox Heads 1


Completing The Dynamic Head Migration Page 19 . How To Get Headless In Roblox Your 2026 Guide . Is Roblox Removing Classic Faces Roblox Face.webp. The Classic Heads Deserve A Comeback Website Features Developer . Why Did Roblox Remove Headless The Full Story Behind Its Absence Roblox How To Get Headless Head 1


Why Did Roblox Remove Headless The Full Story Behind Its Absence . How To Fake Headless On ROBLOX Artofit . 7 Roblox Dynamic Heads Shapes CariCanela S Ko Fi Shop 4f06ca71 C6b2 433e Bf76 Hujdf . We Re Updating Heads Developer Forum Roblox 2 690x351 . HOW TO GET CLASSIC FACES BACK AFTER REMOVAL ROBLOX WORKING 2026